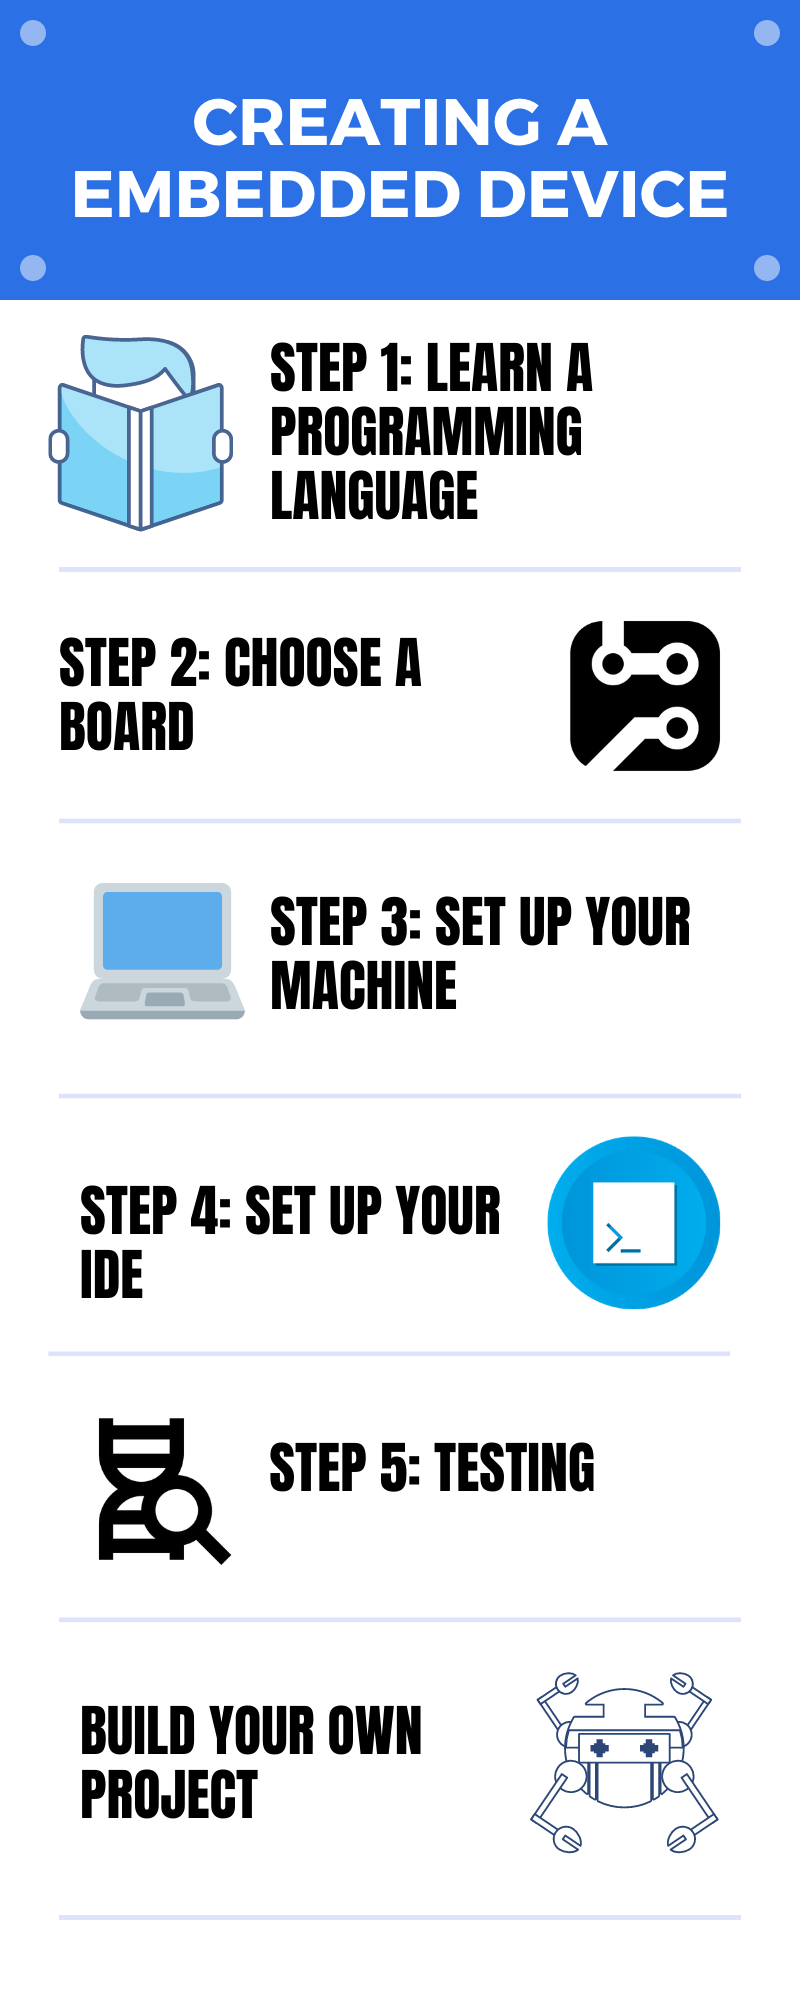
Smart devices, IoT and robotics all have one thing in common: they are embedded systems. But is it possible to create these devices by yourself? How hard would it be? In this post, you are going to find out how you can create your own embedded application in 5 easy steps:
- Step 1: Learn an Embedded Programming Language
- Step 2: Choose an Embedded Computer
- Step 3: Set Up Your Embedded Device
- Step 4: Set Up Your IDE and Tooling
- Step 5: Test Your Embedded Project
But first, let’s review some basic concepts.
What are the Basics of Embedded Systems?
An embedded system is a device with a computer designed for a specific purpose. Here are some examples:
- Routers were designed to route data packages in a network.
- Smart TV was created to run multimedia applications.
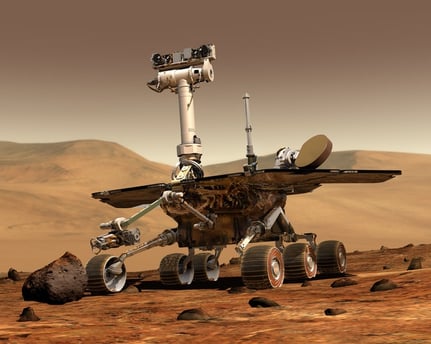
- Mars rover was built to take samples and photos of that planet surface.
Embedded applications let you face programming from a whole new perspective. In embedded programming, your application will interact with the real world. This interaction will let you solve real-world problems.
How to Learn Embedded System Programming
Embedded and general-purpose programming are very similar, but they have two important differences:
- Embedded systems have limited resources, like low ram and low processing power.
- The application has a specific purpose that tightly integrates with the system and hardware.
The two most commonly used languages for creating embedded apps are C and C++. These two languages make your app run faster by letting you manage the memory and access low-level hardware features.
However, these are not the only languages you can choose. You can use JavaScript or Python to program your boards, but they can make your app slower.
Examples of Embedded System
You can find examples of this kind of technology all around you these days, and one of the more growing fields is IoT. But that is not the only example of embedded systems. They are in other fields too and here are some examples:
- Industrial Robots
- Self-driven cars
- Drones
- Video Consoles
- Medical Equipment
- Satellites
- Robots
- and much more...
Step 1: Learn an Embedded Programming Language
The first thing you need to do to start creating applications is to learn a programming language. As embedded boards have improved, there are now many available programming languages to choose from.
In this post, you are going to learn about the C, C++, and QML programming languages and what they offer.
Programming Embedded Systems with C
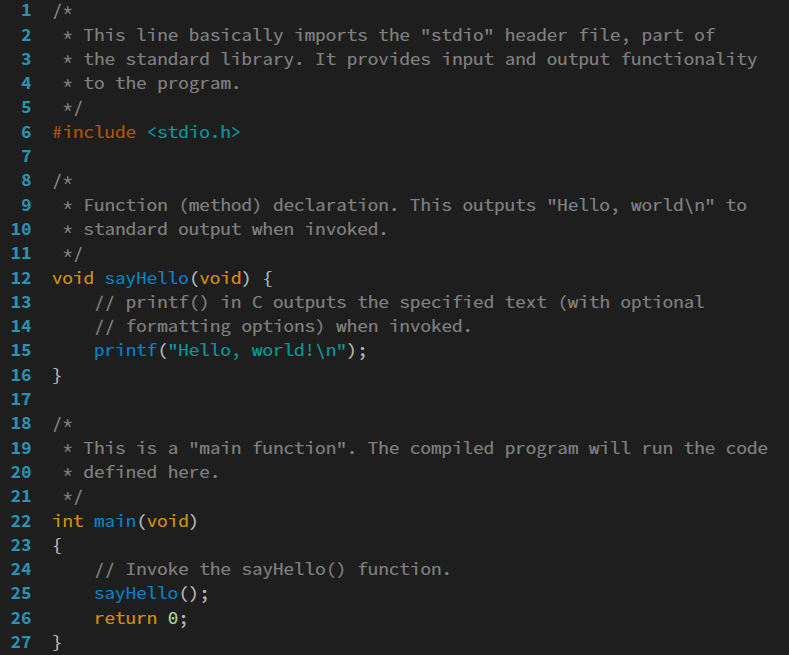
Let’s begin with C. It is a general-purpose language created in 1972 by Dennis Ritchie and Ken Thompson. You will find it in operating systems programming and embedded systems development. It supports the structured programming paradigm.
C can be difficult to learn because you need to manage the hardware resources yourself. Yet, this will make your program run faster.
However, Arduino uses C as a programming language and this is the easier-to-use board for beginners. You can use Arduino to start learning C.
#include <stdio.h>

int main()
{
   printf("Hello World!\n");
   return 0;
}
If you want to learn C or need more help you can visit these sites:
Advantages of the C Programming Language
- It can access hardware directly
- Programs in C have a great performance
Disadvantages of the C Programming Language
- It is difficult to learn
- It needs to cross-compile
Getting Started with C++ Programming
C++ is another favorite for embedded programming. Created in 1985 by Bjarne Stroustrup, in an object-oriented general-purpose programming language.
ISO released the last C++ stable standard in 2017.
With C++, you can create applications in many fields. Here is a list of uses for this language:
- Operating system
- Videogames and videogames engines
- Desktop applications
- Browsers
- Server
- Mobile Apps
C++ can be difficult to learn and, as the C language, you have to manage the memory used by yourself. But, it has a great number of libraries available, you can find a library almost for any use case.
#include <iostream>

using namespace std;

int main()
{
   cout << "Hello World!" << endl;
   return 0;
}
There are many communities for C++. Most of the libraries created for this language have one. Below, you can see what makes it beneficial for your embedded programming journey:
Advantages of the C++ Programming Language
- It has a large library
- It has great performance
- It has access to hardware
- It is the favorite language for embedded programming
Disadvantages of the C++ Programming Language
- It is difficult to learn
- It needs to cross-compile
Embedded Programming with QML
QML is a declarative language that lets you code your application with extensible and flexible components. The declarative language approach is a huge time-saver when developing modern applications and user interfaces. When you need to control the flow of your program, you can use either C++ or Javascript.
QML is part of the C++ Qt library and you can use all the features supported by Qt. The Qt library includes GUI programming, networking, 3D graphics, GPS, and much more. Also, there are many external Qt C++ libraries that you can integrate with your applications.
Qml is easy to use and you can create simple applications fast. As everything is based on C++ in the back, you can create performant QML applications and mix-in native C++ code whenever you want as well.
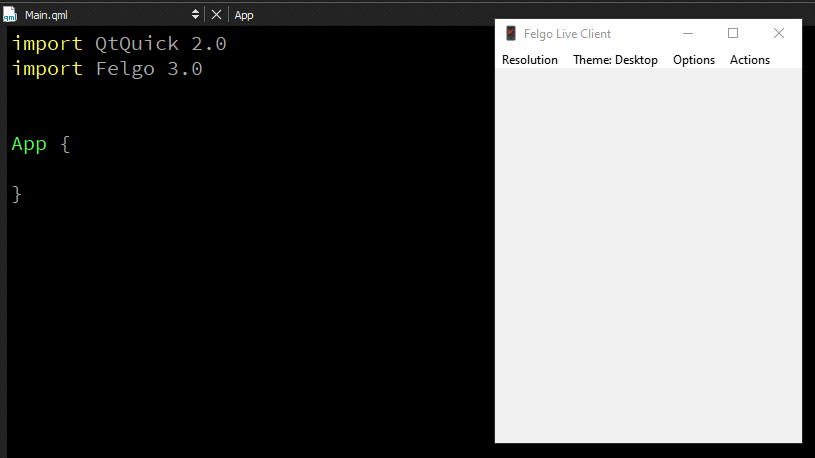
import QtQuick 2.12
import QtQuick.Window 2.12

Window {
   visible: true
   width: 640
   height: 480
   title: qsTr("Hello World")

   Text {
       text: qsTr("Hello World")
       anchors.centerIn: parent
   }
}
You can learn more about QML on the Qt website and forum. Also, there are many groups on social media, you can check the Voidrealms group if you need help.
Advantages of the QML Programming Language
- It is easy to use
- It is compatible with JavaScript and C++
- It provides access to all Qt features
- You can create GUIs fast and easily
Disadvantages of the QML Programming Language
- You still need to use C++, so you need to learn two languages
- It's not possible to hide implementation details. Like in JavaScript, everything is public.
Step 2: Choose an Embedded Computer
What is an Embedded Computer?
Each embedded system carries a computer for a specific task. The embedded board is the computer of such devices. These types of boards are small in size and have limited resources.
After learning a programming language, you can now choose a board. Choosing the right embedded hardware depends on the needs of your project. For example, if you need to build the circuits for your device, you can choose an Arduino to control it. But if you plan to use any prebuilt circuit board, it is better to use Raspberry Pi.
List of Boards for Embedded Programming
Let’s see some of the options you have available when choosing the board for your project.
Embedded Computer Boards
Use
Arduino Uno
Use
Hobbyist and general embedded projects. Use to control electronics components directly.
BeagleBone
Use
Hobbyist and general embedded projects
Raspberry Pi 4
Use
Hobbyist and general embedded projects
Nvidia Jetson
Use
Optimized for IA projects
Toradex Verdin
Use
Optimized for industrial and commercial projects
In the last years, embedded boards have evolved and have more power. In this section, you will find important aspects to keep in mind to start an embedded project.
Power Supply and Energy Consumption
How much energy does our board need? Can you use batteries? Do you need a power cable to the wall outlet? If you can use batteries, what type of batteries do you use? How are you going to charge them? These are some of the questions you have to face when you choose your hardware. When you choose your board, make sure to check if it comes with a power cable. Also, it's a good idea to check the voltage and power needs and try to find a battery that can power your board.
Processing Power
The CPU speed will determine how fast your application can process data. This is a vital piece for your embedded project. You must consider that if you want more processing speed the board price will rise. If your application doesn't need many resources, you can choose a board with a slower CPU.
Memory Types
There can be three types of memories in embedded systems:
- Random Access Memory (RAM): this memory stores all the data your application is processing. This type of memory is not permanent, so when the power goes out you lose all the data stored in RAM.
- Internal Storage: can be a hard drive, an SSD, a Flash Drive, or an SD. This is where all the data on the board will be stored and where you will install the operating system.
- Read-Only Memory (ROM): this memory stores a set of important instructions that the system executes when your board turns on. You can’t save data into it.
Response Time
The timer is an important part of each computer. It is a clock, in the form of a crystal, that will give pulse to the CPU so it can count the time. The timer will define the amount of Hertz a CPU can work and is essential for all computers.
In embedded programming, you can use the timer to count time precisely. Embedded apps can depend on counting this frame of time to execute a task. Here is an example:
For plant watering robots, you must know the last watering time and how much time since the robot starts watering. These two data will avoid the plants getting dry or drowned by the robot. You can easily count these times with timers.
As you can see, you can use timers to control our device response to the real world. Embedded systems interact with the world and you will need to reduce the time of response of your device. Timers are a very important hardware feature to have in mind when working with your embedded hardware.
Communication Ports and External Hardware
The ports allow the board to communicate with the world. They are responsible for the input and output. Depending on your need, you can choose a board with more or fewer ports.
There are ports for different types of communications. You can use Ethernet ports, USB ports, or GPIO ports to send or receive data.
Some examples of ports on embedded board are:
- General Purpose Input-Output (GPIO)
- USB
- Ethernet
- Video Output
- Audio Input/Output
There is also a special type of port worth highlighting called the GPIO. This port will let you connect electronic components and circuits to the board without the need for extra controllers. So if you are planning to turn on and off a LED or need to control a robot arm with servos, this is the port you are going to use.
GPIO is not the only special type of port that exists in an embedded board. There are boards that have ports for a specific sensor or hardware, like the Raspberry Pi, which comes with a camera port.
Which Embedded Hardware Should You Use?
If you are beginning your journey in the embedded programming world, Raspberry Pi will be a great choice. It is an easy to use board, with a lot of documentation and support from the community. Also, there are many example projects.
Another good start point for beginners is the Arduino board. This board doesn’t need an embedded operating system and is easier to program. If you need to control electronic components or have an electronic background and want to learn to program, Arduino is a great option.
In case you are designing a more professional project or you are a company looking to create a complex device, the Toradex Verdin board is a great option. Toradex has great support services for its clients, along with well-extended documentation. Even so, this option requires a big budget, so if you are a beginner this may not be the best board to start your embedded programming.
Step 3: Set Up Your Embedded Device

After you choose your board, you can proceed with setting up your gear. Besides the embedded board, you also need an operating system to run our application.
What Are The Embedded Operating Systems?
When using an embedded board, you will need an embedded operating system. This kind of OS is like a general-use OS, but with some main differences:
- The embedded OS can run on CPUs and MCUs
- It is generally used to only run one application
- Developed for a specific task
- You distribute the application and the OS together in an image file
List of Embedded Operating Systems
Depending on the board you chose, you can install an embedded operating system. All the boards listed above need an OS to work, except for Arduino. Here is a list of some of the embedded operating systems that are available for embedded boards:
- Embedded Linux
- Yocto
- Embedded Windows
- Android
- QNX
- INTEGRITY
- VxWorks
Installing an Embedded Operating System
Each board may have a different approach on how to install the operating system in it, but in general, they all follow these three steps:
- Download the OS: On the board’s manufacturer website, you can download an OS image for your hardware.
- Flash the image: after you download the image file, you can use the dd command on Unix like systems or BalenaEtcher to copy the OS into an SD card.
- Install the SD on the board: after the SD card is ready, put it into the board. On some boards, this is all that you need and you are ready to go. In others, you need to follow extra steps, for example with BeagleBone.
What is Sysrooting in Embedded Development?
The sysroot is the directory tree of your operating system. In a Unix-like OS, the sysroot is all that lies inside the ‘/’ directory.
For embedded programming, the compilation requires the sysroot of the OS you install on your board. For this, you require a copy of the directory tree of the embedded OS in a folder inside your computer.This procedure is called sysrooting and it is required to cross-compile the application for a different architecture.
Connect Your Device to Your PC
You can copy files or programs to your embedded board using a network connection or a USB flash drive. But you can also connect your board directly to your PC, using a serial to USB cable and a serial terminal like Putty to connect to the board.
Using the serial connection lets you debug your application and check the board status. This is the preferred way to connect to an embedded board.
Step 4: Set Up Your IDE and Tooling
An integrated development environment (IDE) is the application you will use to create your programs. An IDE has anything you need to build your application. Typically an IDE will have:
- A text editor with code auto-completion for you to write your code
- A compiler and a linker to build your application
- A debug tool
- A set of libraries
Recommended IDE for Embedded Development

If you choose to use Qt to program your application, you can use the QtCreator IDE. It includes a bunch of tools to develop an application: text editor, gdb, qmake, cmake, git, valgrid, and more.
It comes with the Qt library and you can configure a Qt version for your embedded board. Also, you can deploy, debug, and test your application directly in your hardware.
Tools for Embedded Development
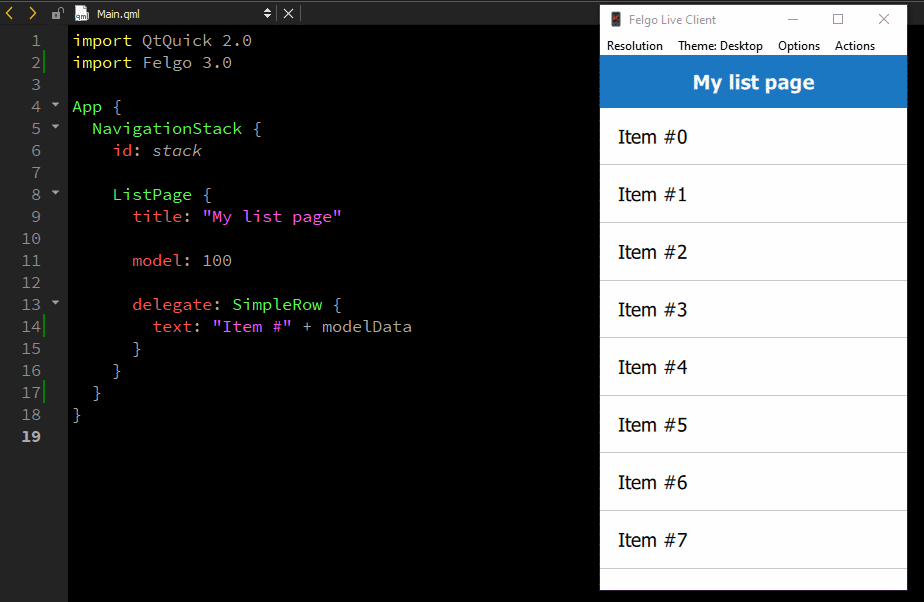
As Qt is very popular, there are a lot of tools and components that you can take advantage of. For example, Felgo is an extension for the Qt library that provides a lot of features for cross-platform development. Use it to create feature-rich apps with a great UI/UX, especially on touch devices. Felgo allows you to support many different devices and screen densities with your app. Qt and Felgo also support mobile platforms, so you can even use a shared codebase if you want to build companion apps for Android and iOS.
Felgo also improves the QtCreator IDE with new functionalities, like easy integration of Felgo Live. It enables QML Hot Reload and is a standalone tool that you can use to instantly see QML code changes on your embedded device. This is a huge time-saver when developing on embedded devices.
Compilation and Deployment for Embedded Platforms
To deploy your application on your embedded hardware, you need a toolchain to compile it. A toolchain is a set of tools that allow you to compile a program for a different CPU architecture using your PC. For example, you can compile a program for an ARM processor using your computer's x86_64 processor. This process is called cross-compiling.
A toolchain has a compiler, a linker, a debugger and some libraries. You can check your board toolchain with the manufacturer.
Step 5: Test Your Embedded Project
What Is Testing and Why Is It Important?
Once you know your programming language and have the hardware and IDE set up, you can start developing. At this point, it’s time to think more about testing.
Testing is making sure your application does what it is supposed to do. For that, you are going to manually or automatically do tests for your code so you can be sure that it will run without errors.
Imagine for a moment that your embedded project needs the user to input a time in a text field. Here you can test that your text field can only accept numbers. If the user input letters or signs your test will fail. Test failures will indicate where you must make the corrections in your program so it always works as expected.
Testing is important for two things:
- You can be sure that your app won’t fail in the test cases designed by you when it gets to production.
- You are working on a team and you need to verify that the changes you make on the code will not affect the code of other team members.
To create a robust application, you need to test your code to a certain degree. The more you test the better. Here are some practices that will help you test your application:
- Start testing as soon as possible when you start your project.
- Define your test using the use cases of your device
- Keep a user perspective when designing your tests
- If you are working with CI/CD automate and integrate the test in the process
Skip Building and Deployment with QML Hot Reload
The QML Hot Reload is a feature provided by Felgo. It is a very useful tool because it will let you reload all the QML code in your application without the need to compile it again. This may sound trivial, but in practice, it will reduce the development time a lot. Especially, if you made a series of changes to your QML code, but didn’t touch the C++ code.
Tips for Getting Started with Embedded Programming
When you work in the embedded devices world, you can end up designing machines of very different natures and purposes. As each system is highly specialized for what it is designed to do, you will encounter many different concepts along your way. This can be overwhelming at first, so if you are beginning with embedded development:
- be patient and allow yourself to fail when trying a new thing
- start with basic projects to grasp the main concepts first
- choose a board that is easy to use and comes with extensive documentation
These three things can ease up the learning process a lot. You will have to learn about programming, operating systems, electronics, mechanics, and more. So prepare, study, and look for some projects that you like and have fun experimenting on.
Project Ideas for Embedded Programming

Embedded projects can cover a wide range of fields, so there are many possibilities you can choose from. Even so, let’s see some projects that can help you learn embedded programming:
Embedded Programming Example: Hand Sanitizer Dispenser
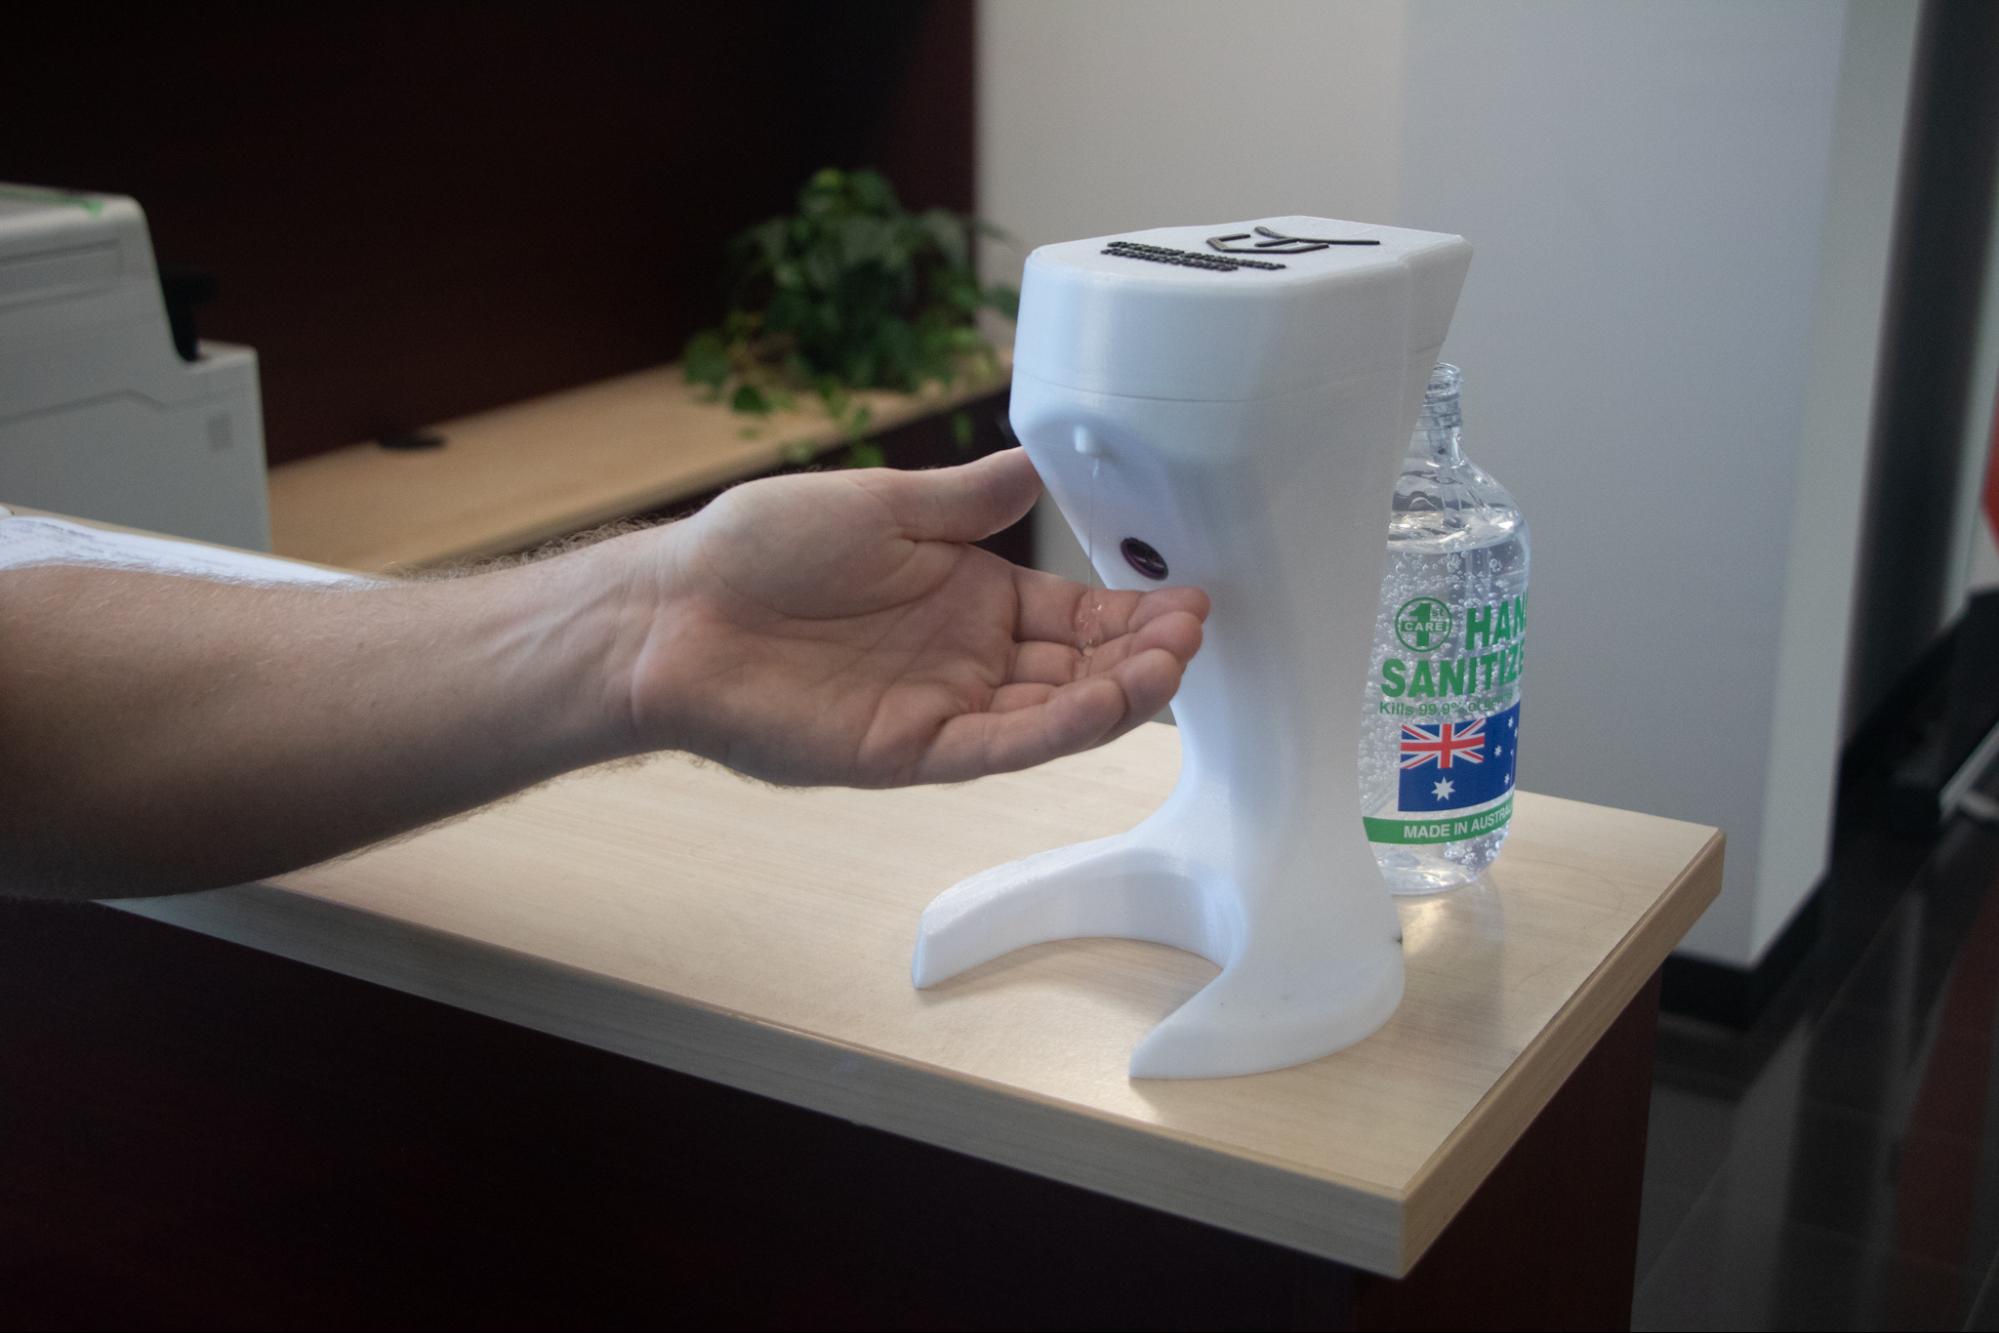
A hand sanitizer dispenser is a really useful project for everyone. It uses a proximity sensor to clean your hands. You can put it in your home entry or in your office.
Line tracker robot - A Fun Project to Practice Your Embedded Programming
![]()
As the name indicates, these line tracker robots move around by following a line drawn on the floor. They are simple to build, fun to play with and will teach you basic and important robotics concepts.
Robot Arm - Embedded Programming Example for Industrial Robotics
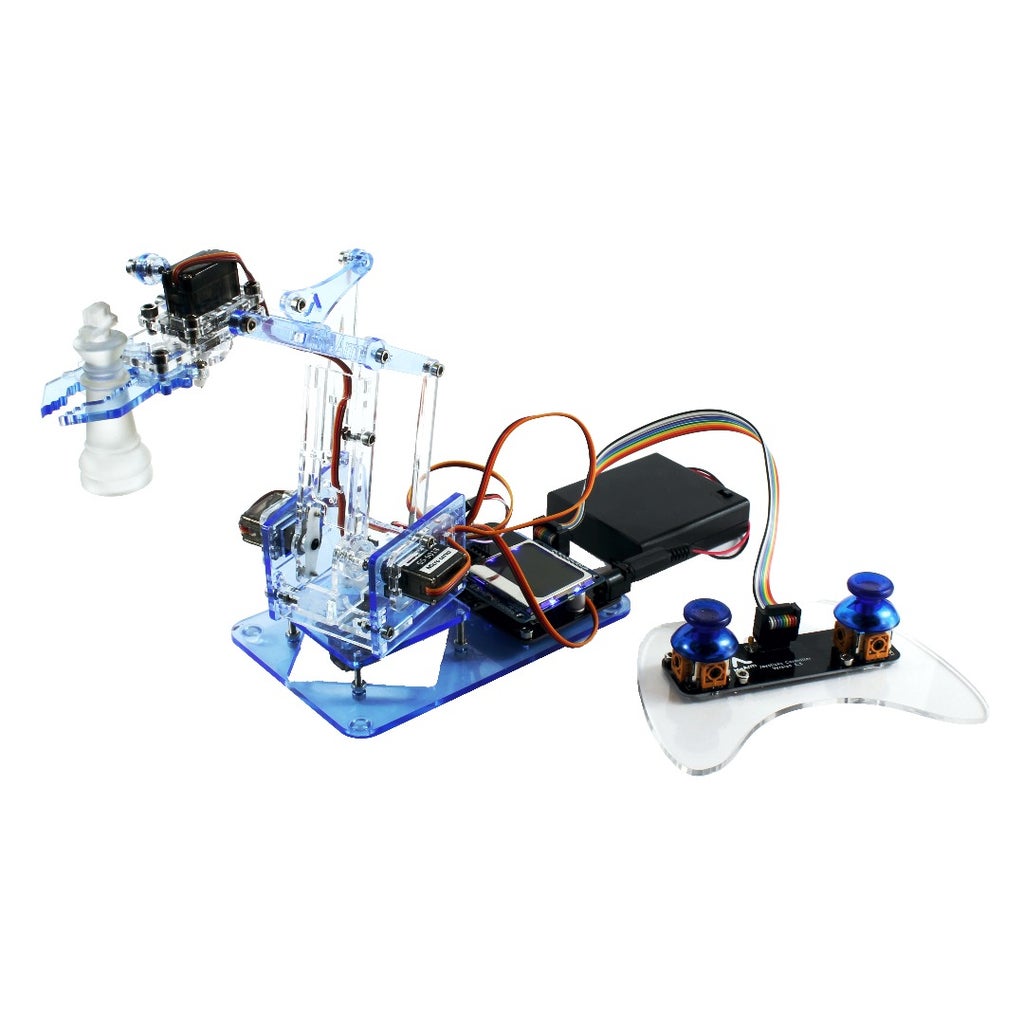
This robot arm project is a great way to learn the very basic concept of industrial robotics. You can start building basic arms and keep improving to more complex ones.
Room Light Control - A Smart Home Embedded Project Example

A room light control is another project that you can use in your home or office. Also, working with lights dimmer or on and off control will teach you how to work with AC electrical devices. Be aware when working with electricity, it is much better to start with LED lights and DC electricity.
Automatic Watering System: A Project Example Using Embedded Programming

An automatic watering system for your plants is perfect to learn more than just electronics or programming. Embedded systems are built to solve real-world projects and this means learning concepts from other fields, in this case, botany or agriculture. Building an automatic watering system will give you a glance at the potential of these kinds of devices.
Sound Equalizer: Learn Computer Graphics with Embedded Programming

A sound equalizer with lights: is a very cool-looking project to learn embedded programming. During this project, you will advance your skills on computer graphics as you will need to program how the LEDs and the colors are displayed in the LED matrix.
You can find more projects on the following websites:
There is a lot involved when creating embedded applications. Now you know more about the basic concepts of embedded programming, and how to configure and program an embedded board in order to create a new device. Let’s have a look at the process one more time:
There are many pitfalls you can run into, so be sure to take your time and go step-by-step. If you have a business use for embedded programming and app development, don’t be shy to contact Felgo’s team of experts. From extensive remote or on-site training and webinars to professional consultation and app development services, Felgo gives you all the knowledge you’ll need to build a successful, next-generation embedded application.

Related Articles:
3 Practical App Development Video Tutorials
Best Practices of Cross-Platform App Development on Mobile
Mobile App Design for The Perfect UI in 2020?
How to Soft Launch Your App in the App Stores